
We highly recommend Vultr for hosting Funnel Flux as all the benchmarks show that they have the fastest servers at the lowest prices. The only problem is that it is 100% unmanaged, meaning that you have to install everything yourself (or use LaunchPal).
However, with the scripts we have prepared for you and the step by step instructions below, the installation process is now extremely straightforward.
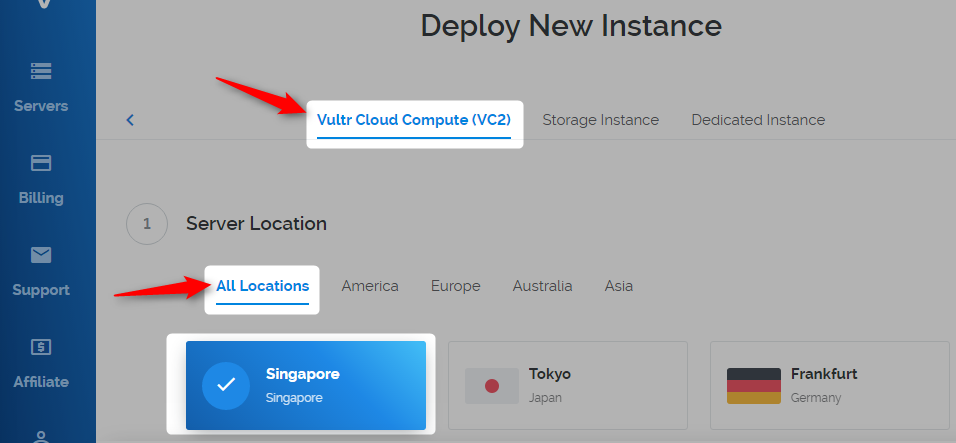
STEP 1: After having created an account at Vultr, click the blue "Deploy" icon:

Then select "vultr cloud compute" as your server type, and pick a server location:
STEP 2: Select "CentOS 7 64 bit" for the operating system as in the screenshot below:

STEP 3: Select a server size. We recommend a strict minimum of 2048MB of memory and 2 CPU (regardless of how low your traffic volume might be). For 100,000 visitors per day, you should select at least 4 CPU + 4GB (4096MB) of memory or more. For 200,000 to 1 million visitors per day, select a server between 8 to 16 cpu and a minimum of 16GB of memory. If you plan to send more than 1 million visitors per day through your FunnelFlux, then select a server with 24 CPU and 64GB of memory.
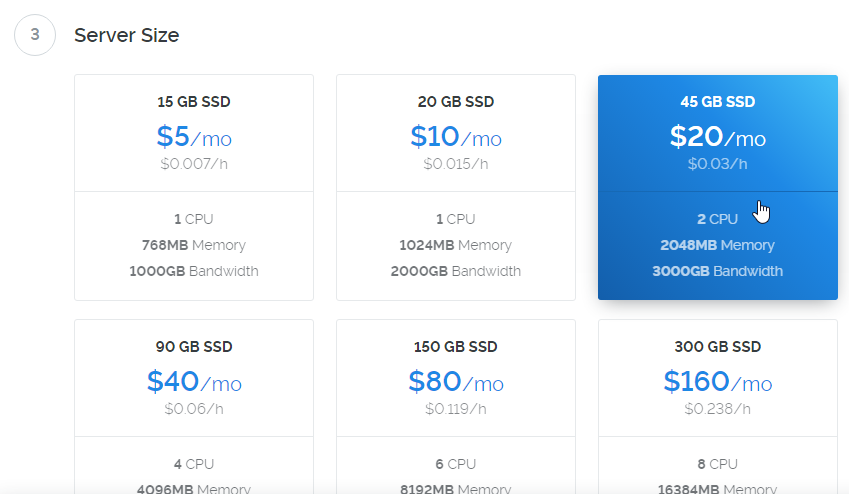
After selecting a server size, enter a label for your server and click "Deploy Now"
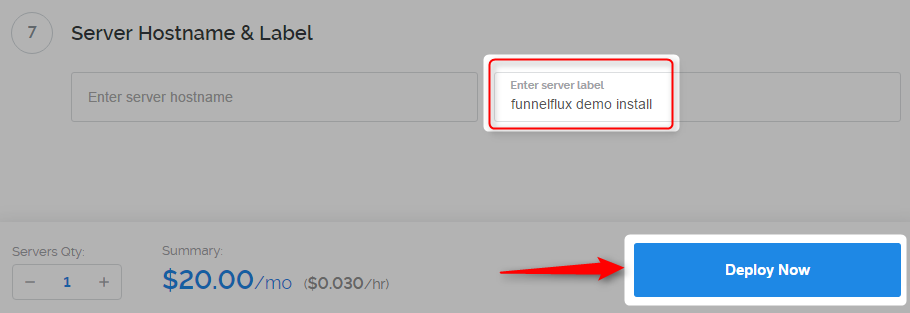
After clicking the button, you will see a screen like this one:
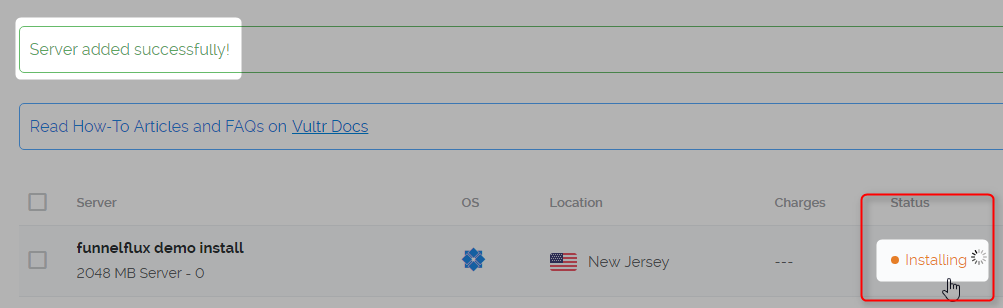
STEP4: While your server is being created, you will point your domain name to it.
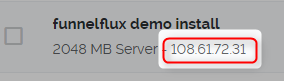
Wait for the IP to become available, then copy it to the clipboard:
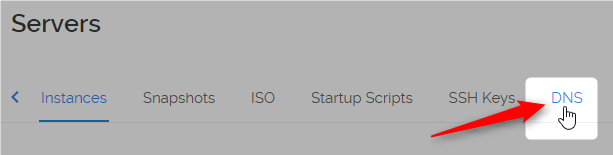
In the top navigation, click on DNS:
Then click the "Add Domain" button

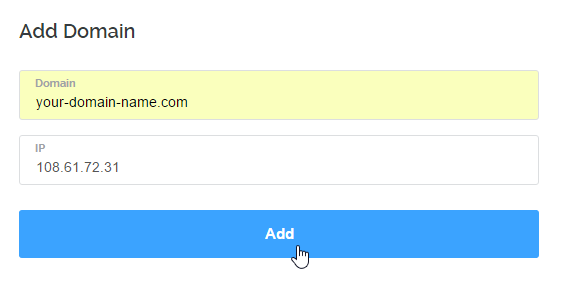
This will open the DNS Manager. Enter your domain name and server's IP, then click the "Add" button, like this:
After clicking the "Add" button, you will see the following confirmation message, with Vultr's DNS name servers.
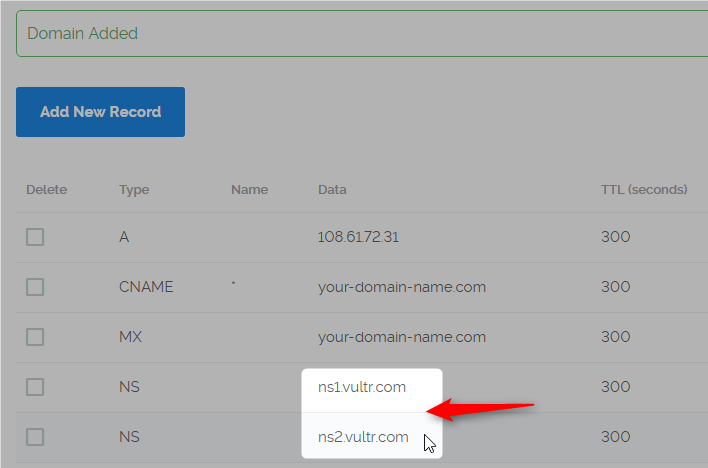
Now, go to your domain name registar, and enter those 2 name servers for your tracking domain.
At namecheap.com, it looks like this:

If you are using another registar, try to find where you can edit your domain name servers, or contact their support.
If you were previously using that same domain name, make sure the DNS have propagated before following the remaining steps (or buy a brand new domain if you don't want to wait).
You can use this website to check the DNS: https://www.whatsmydns.net/
Enter your domain name, click search and see if the IP is the one Vultr gave you:
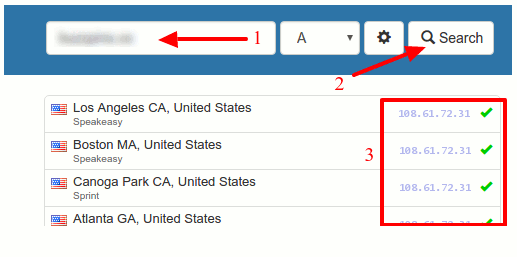
If yes, you can proceed further. Otherwise, you must wait until the DNS has propagated.
STEP 5: Go back to your servers list and click the manage link next to your server IP.
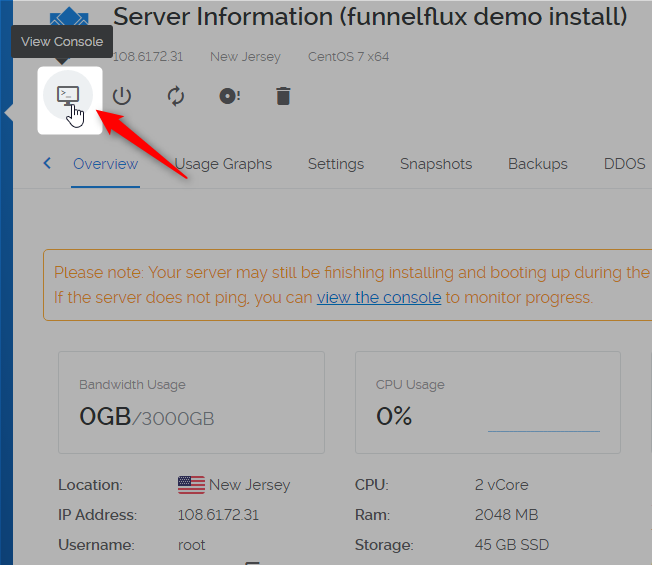
You will see some information about your server and have access to several actions.
You need to click the "View Console" button:
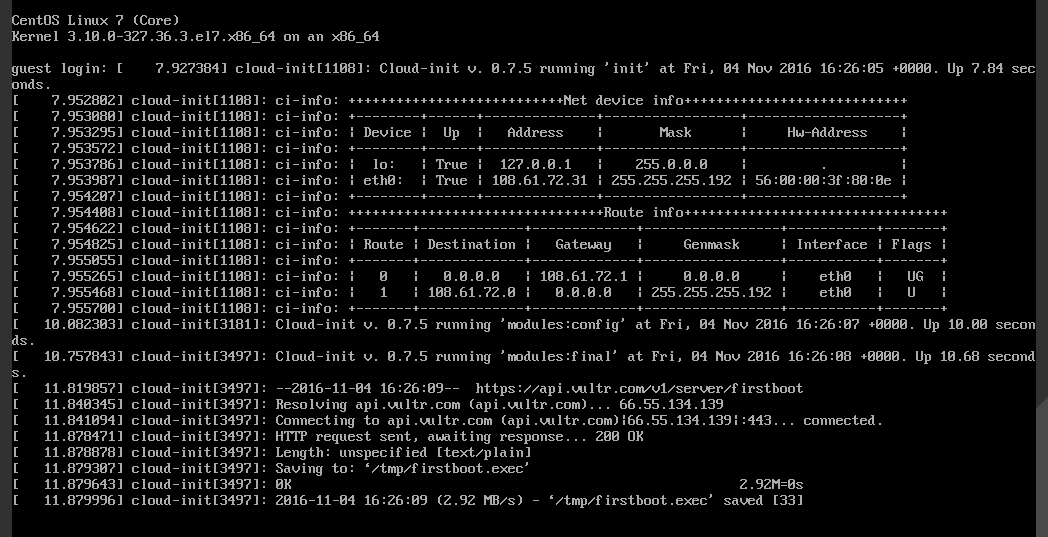
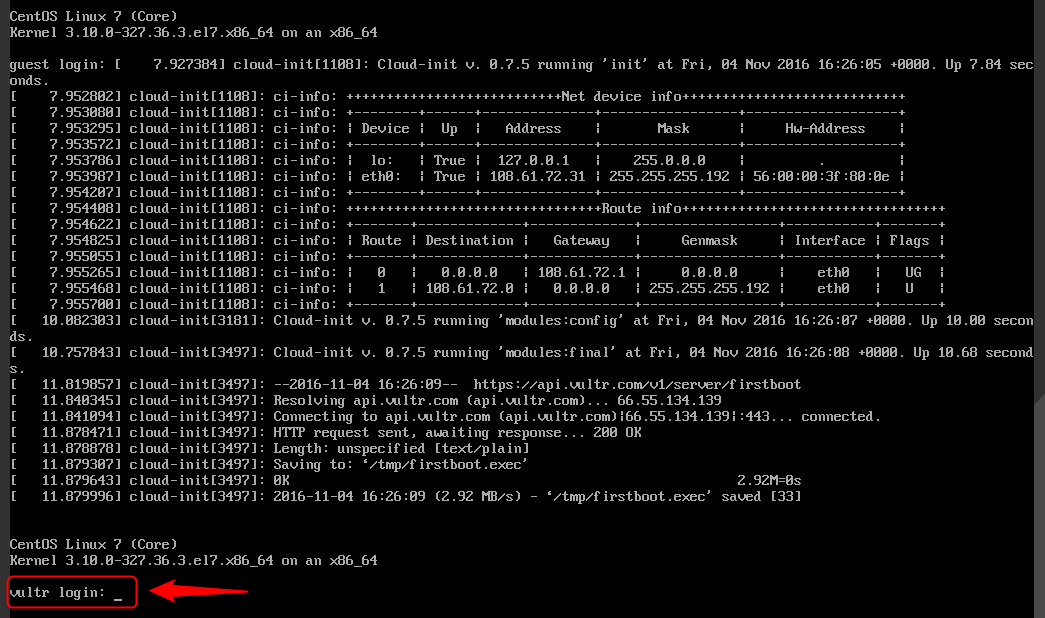
This will open a Shell Window and you will see where your server initial installation process is at. If nothing moves and looks like the screen below, then press ENTER:
You will then have the opportunity to login. Use the root username and password to login:
Important Note: That Shell Window doesn't accept copy/paste operations. Furthermore, it is very slow. If you have access to Terminal (Max & Linux) or Ubuntu Bash (Windows 10), use this instead. If you do not have any terminal, you can download MobaXTerm and log into your server by typing the following command:
ssh root@YOUR-IP-ADDRESS
After having logged in, type the following command in the Shell Window, then press Enter:
wget http://assets.funnelflux.com/tools/confs/centos7/ff1.sh
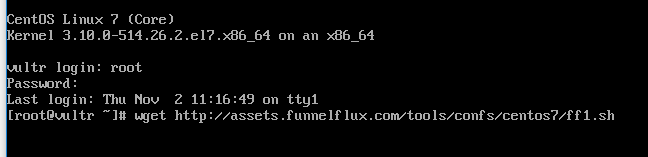
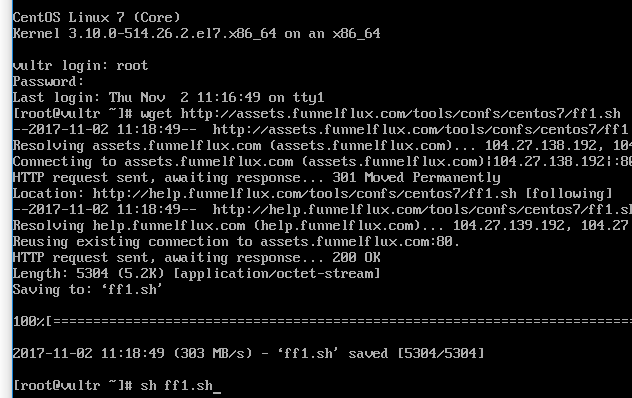
If you entered it correctly, you will see a message like the one below (numbers could be different):
"ff1.sh" saved [1937/1937]
Now, type the following command:
sh ff1.sh
IMPORTANT: A few other commands will have to be typed, and these commands will be displayed in the shell window. Make sure you follow all of them.
Our scripts will optimize your server, download FunnelFlux and install it for you. Just follow the simple instructions displayed in the shell window until you reach the end!